


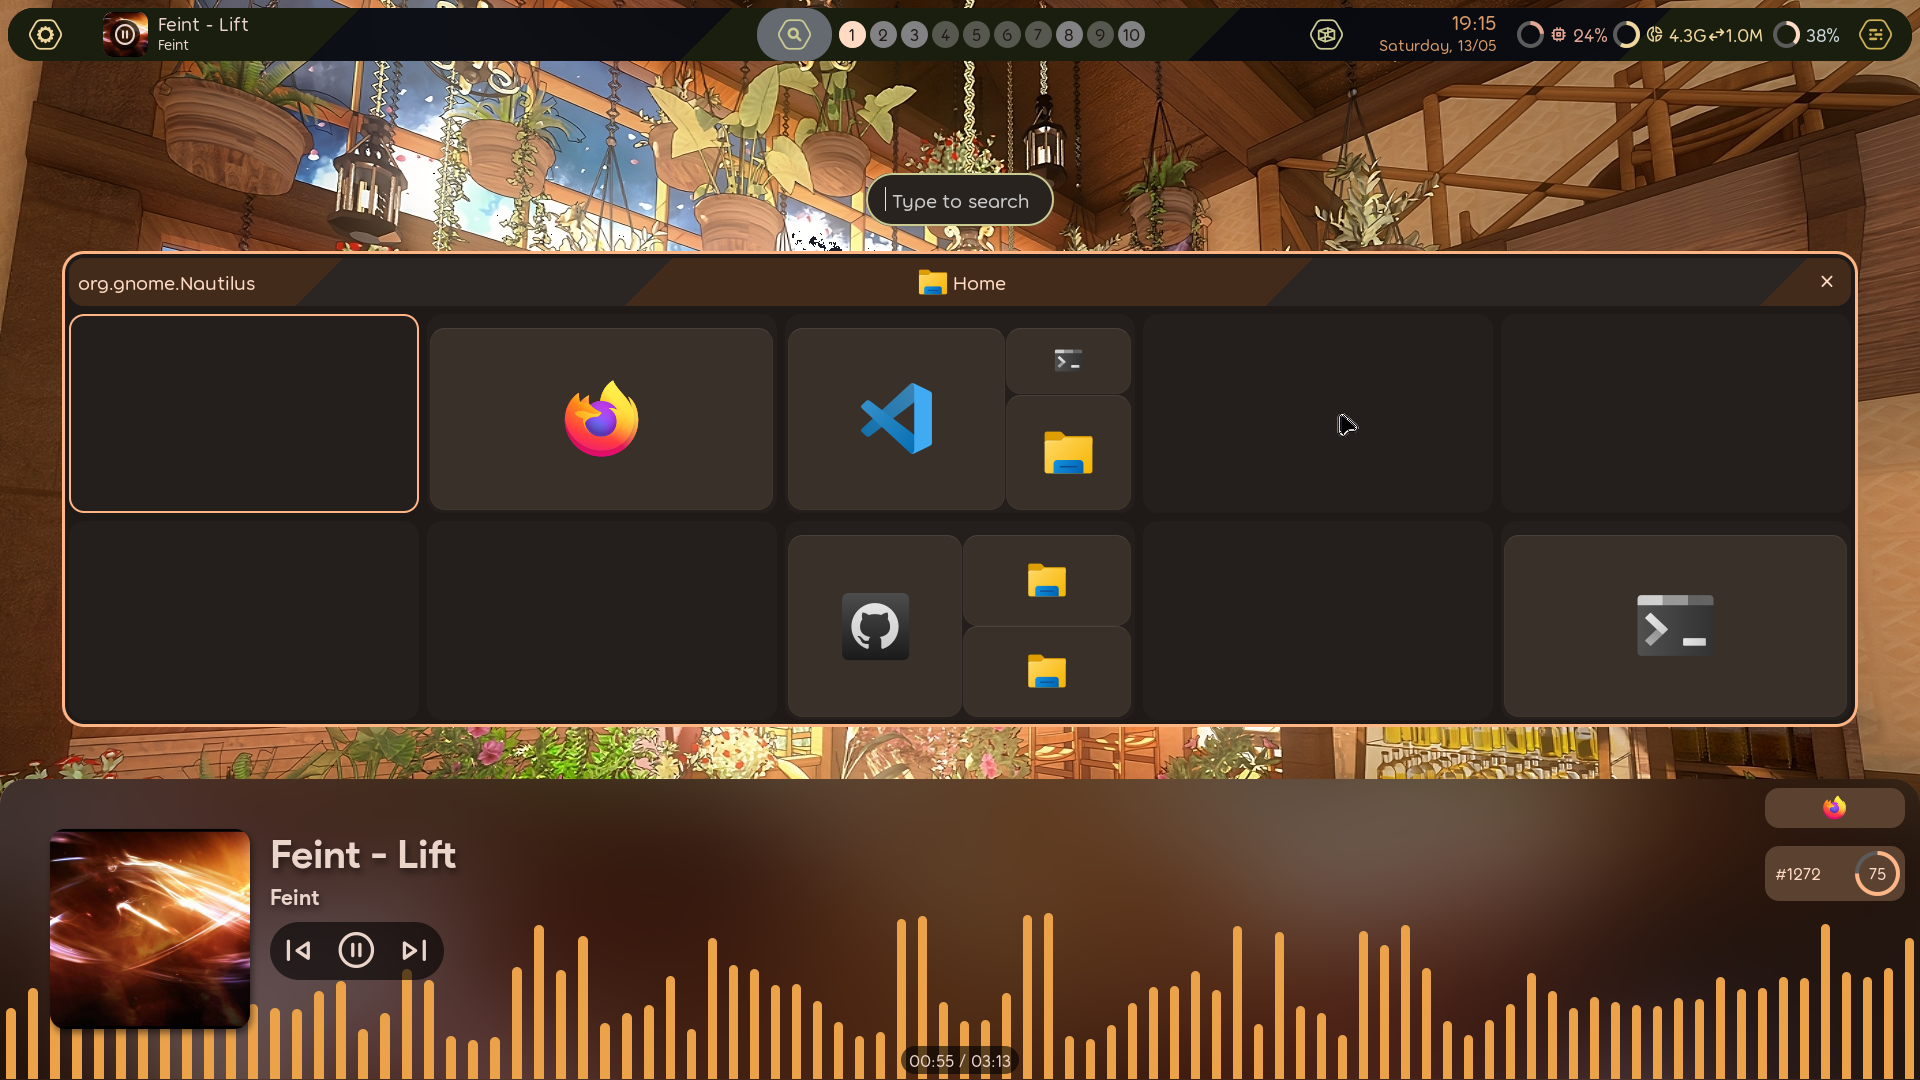
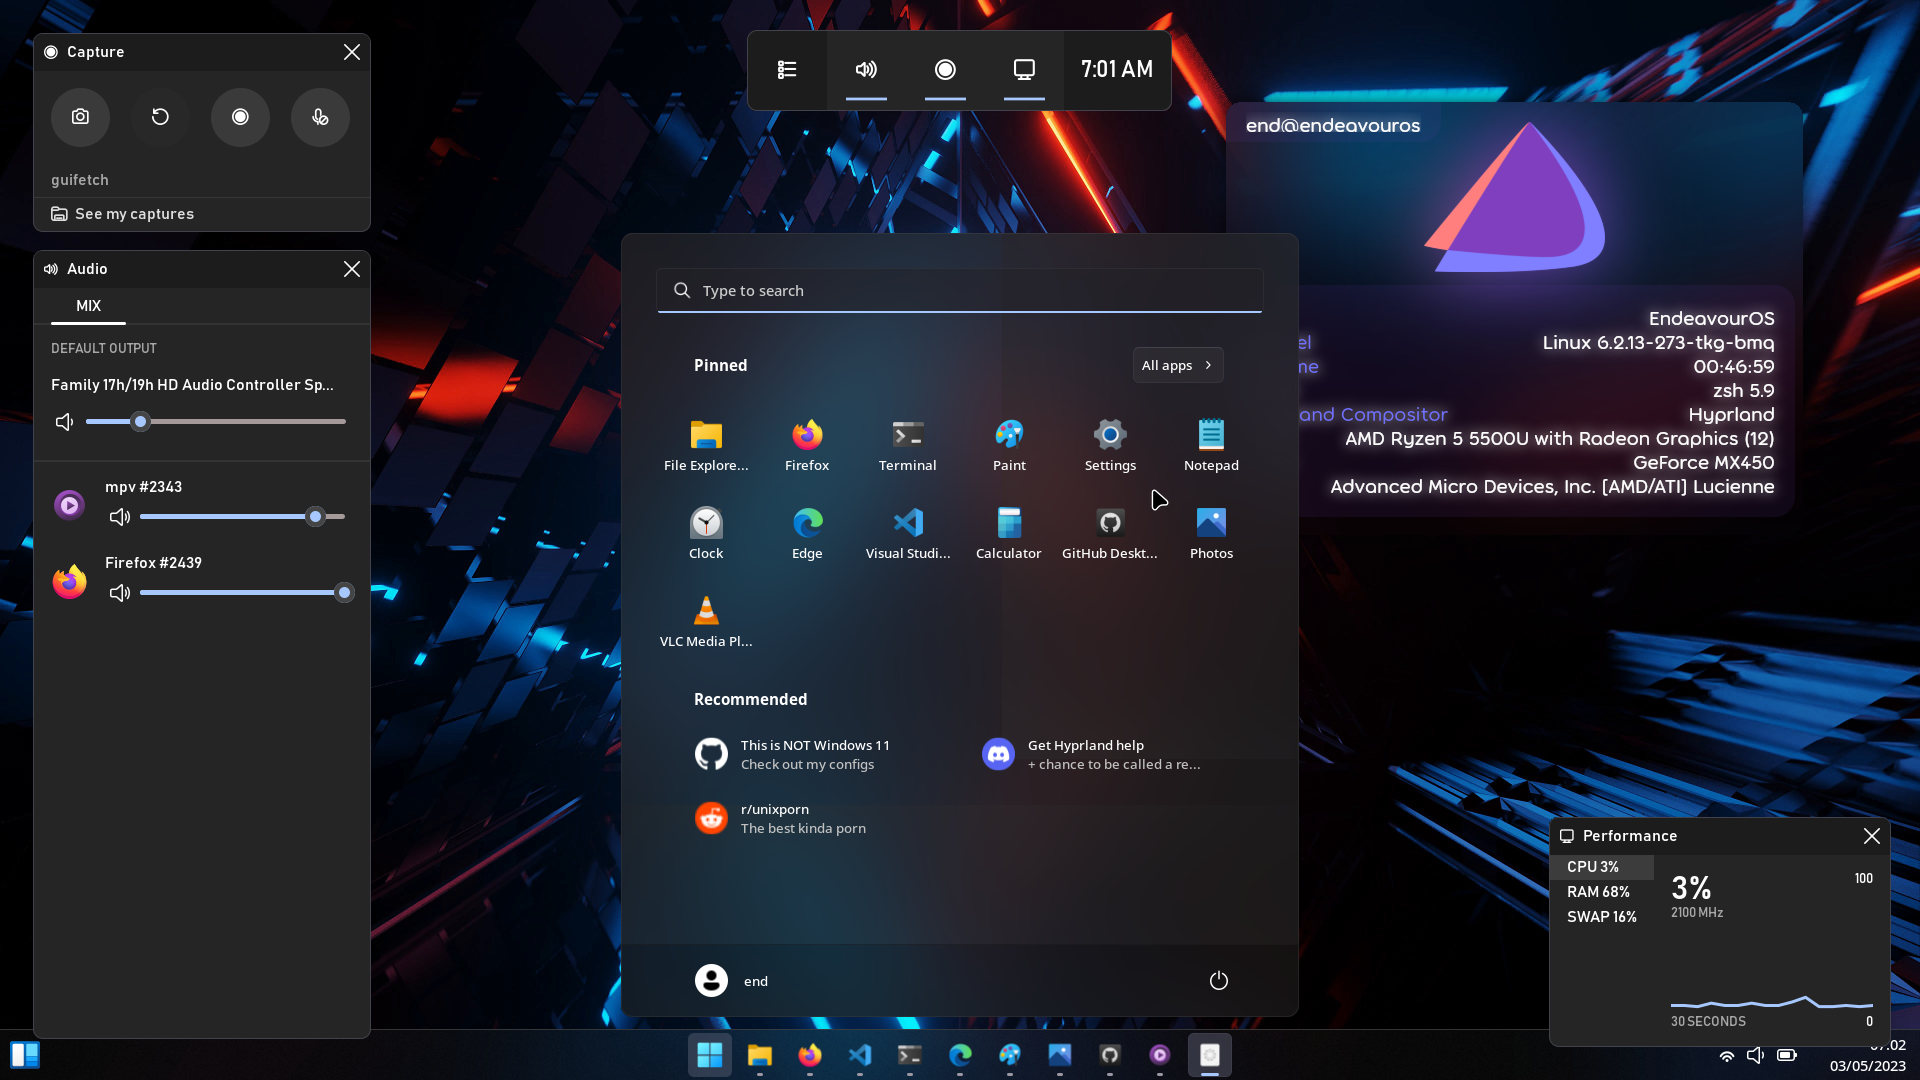


Notable features
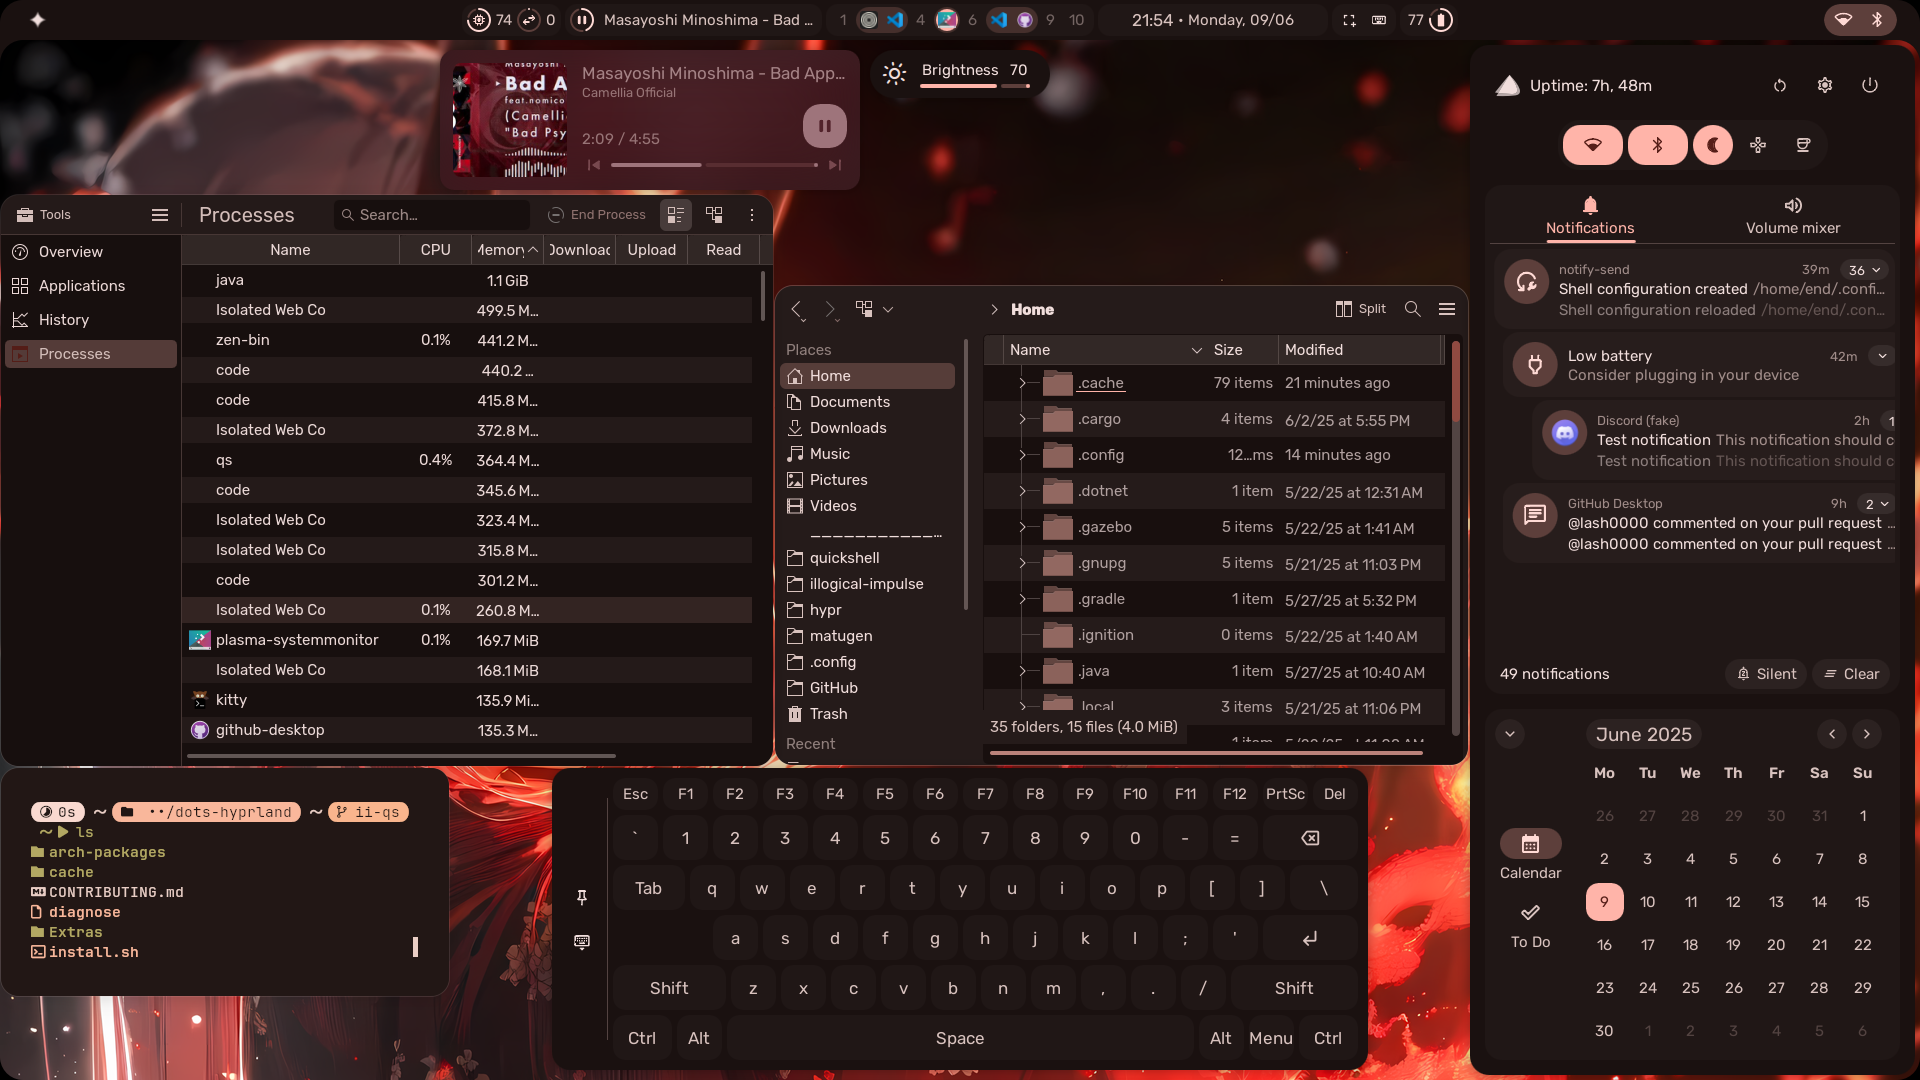
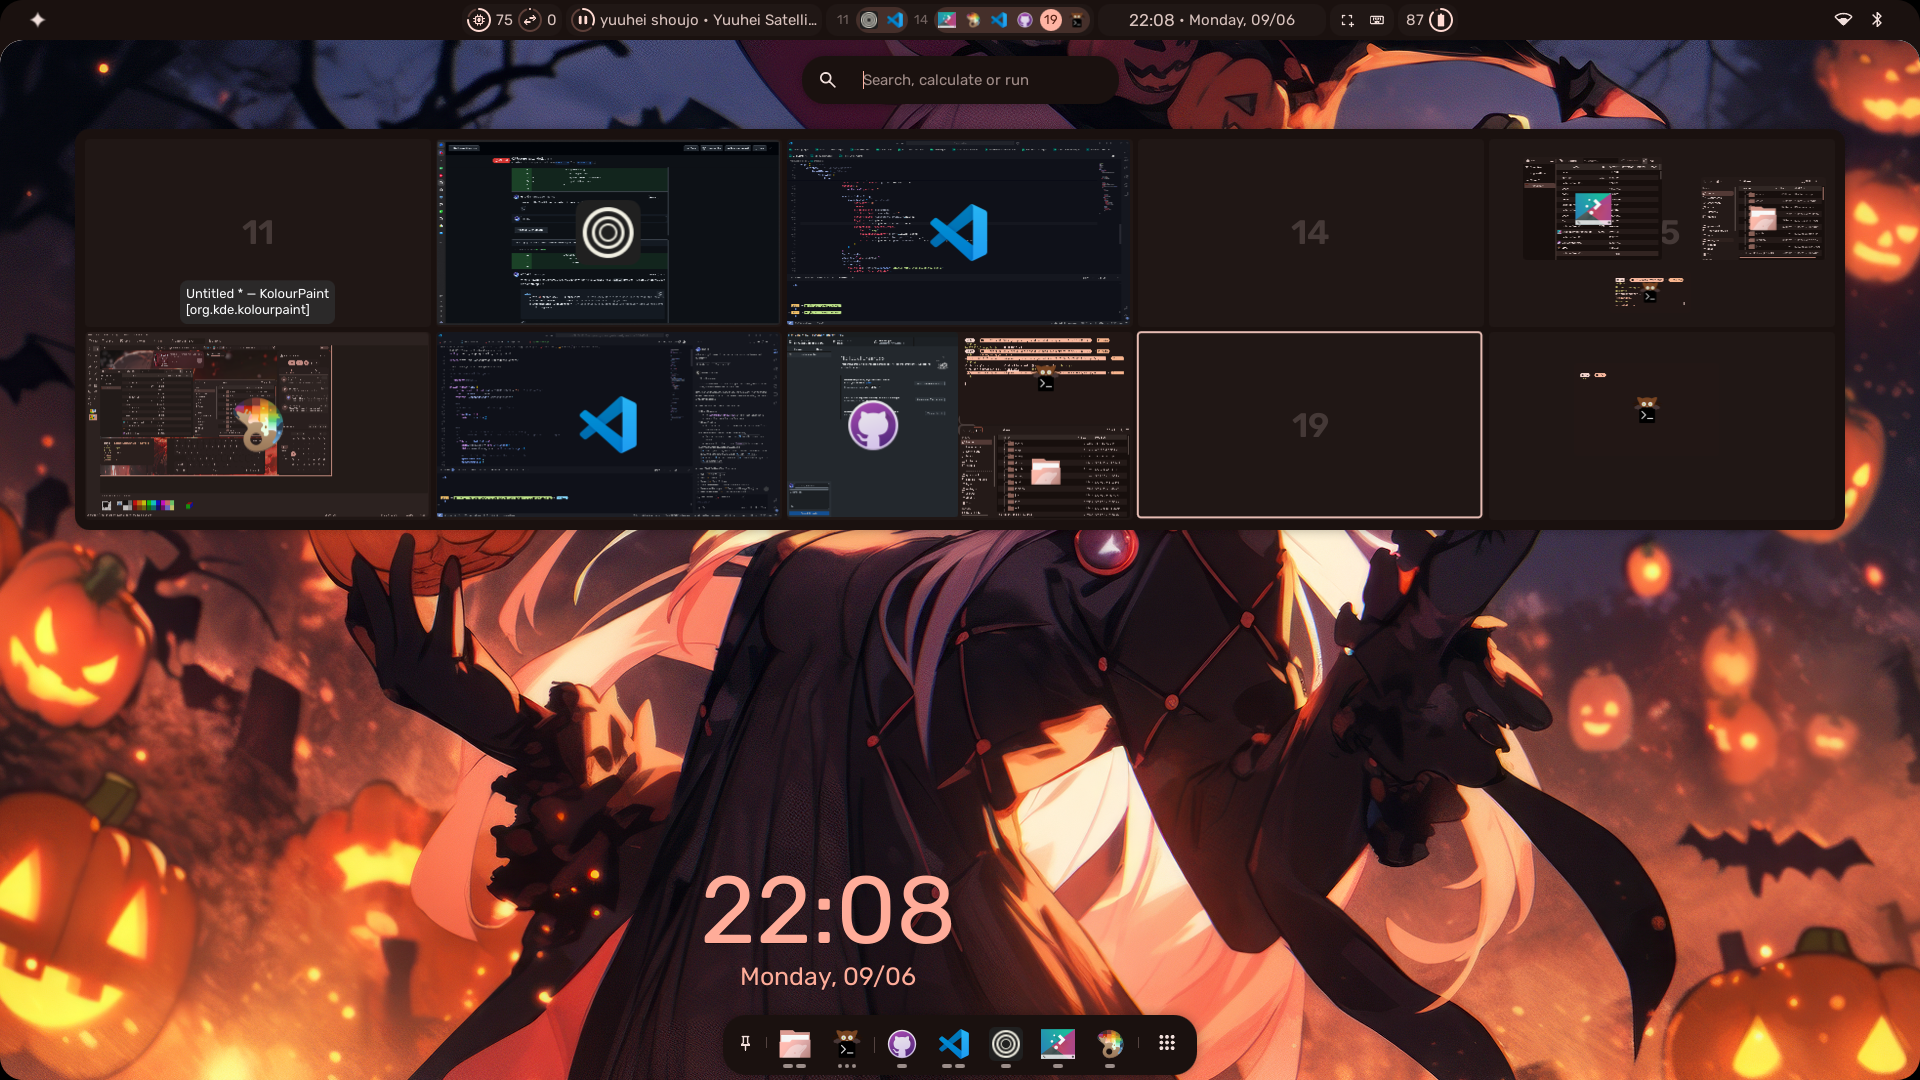
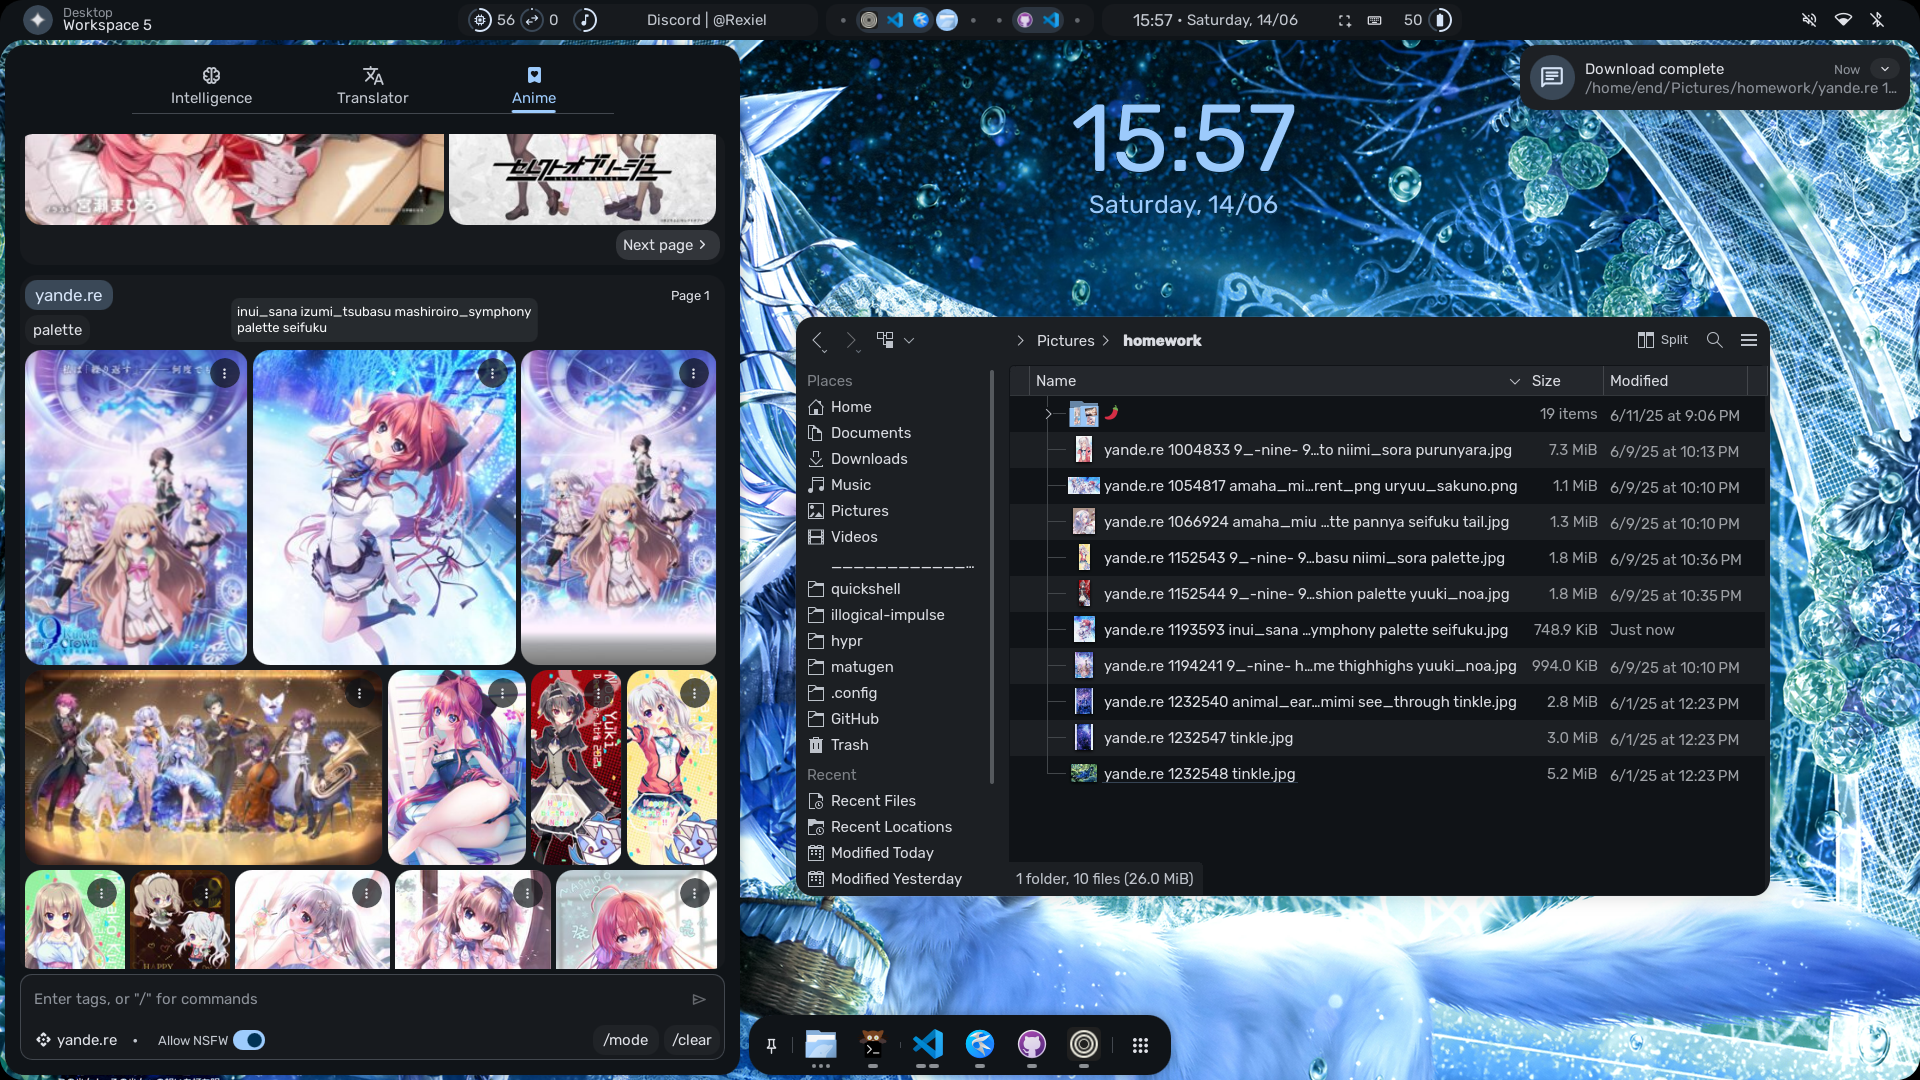
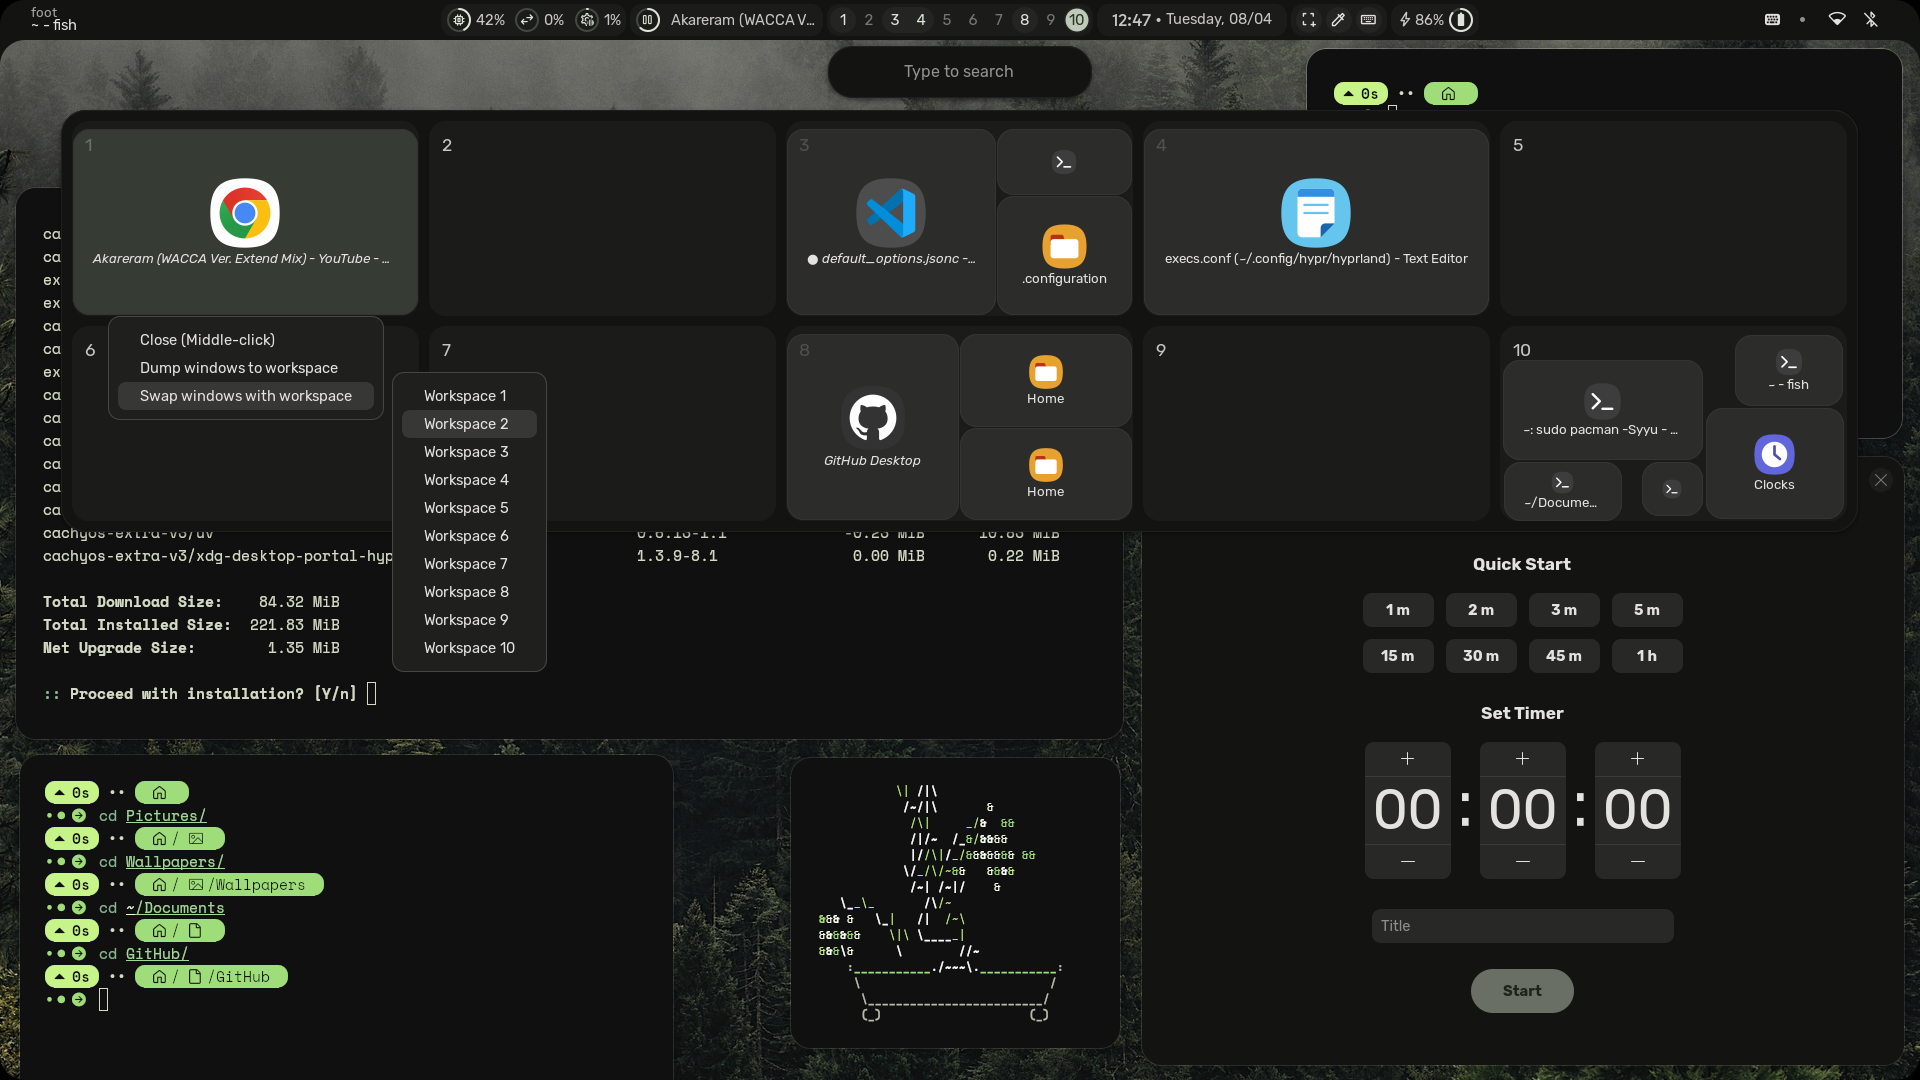
- Overview: Shows open apps with live previews. Type to search/calculate/run
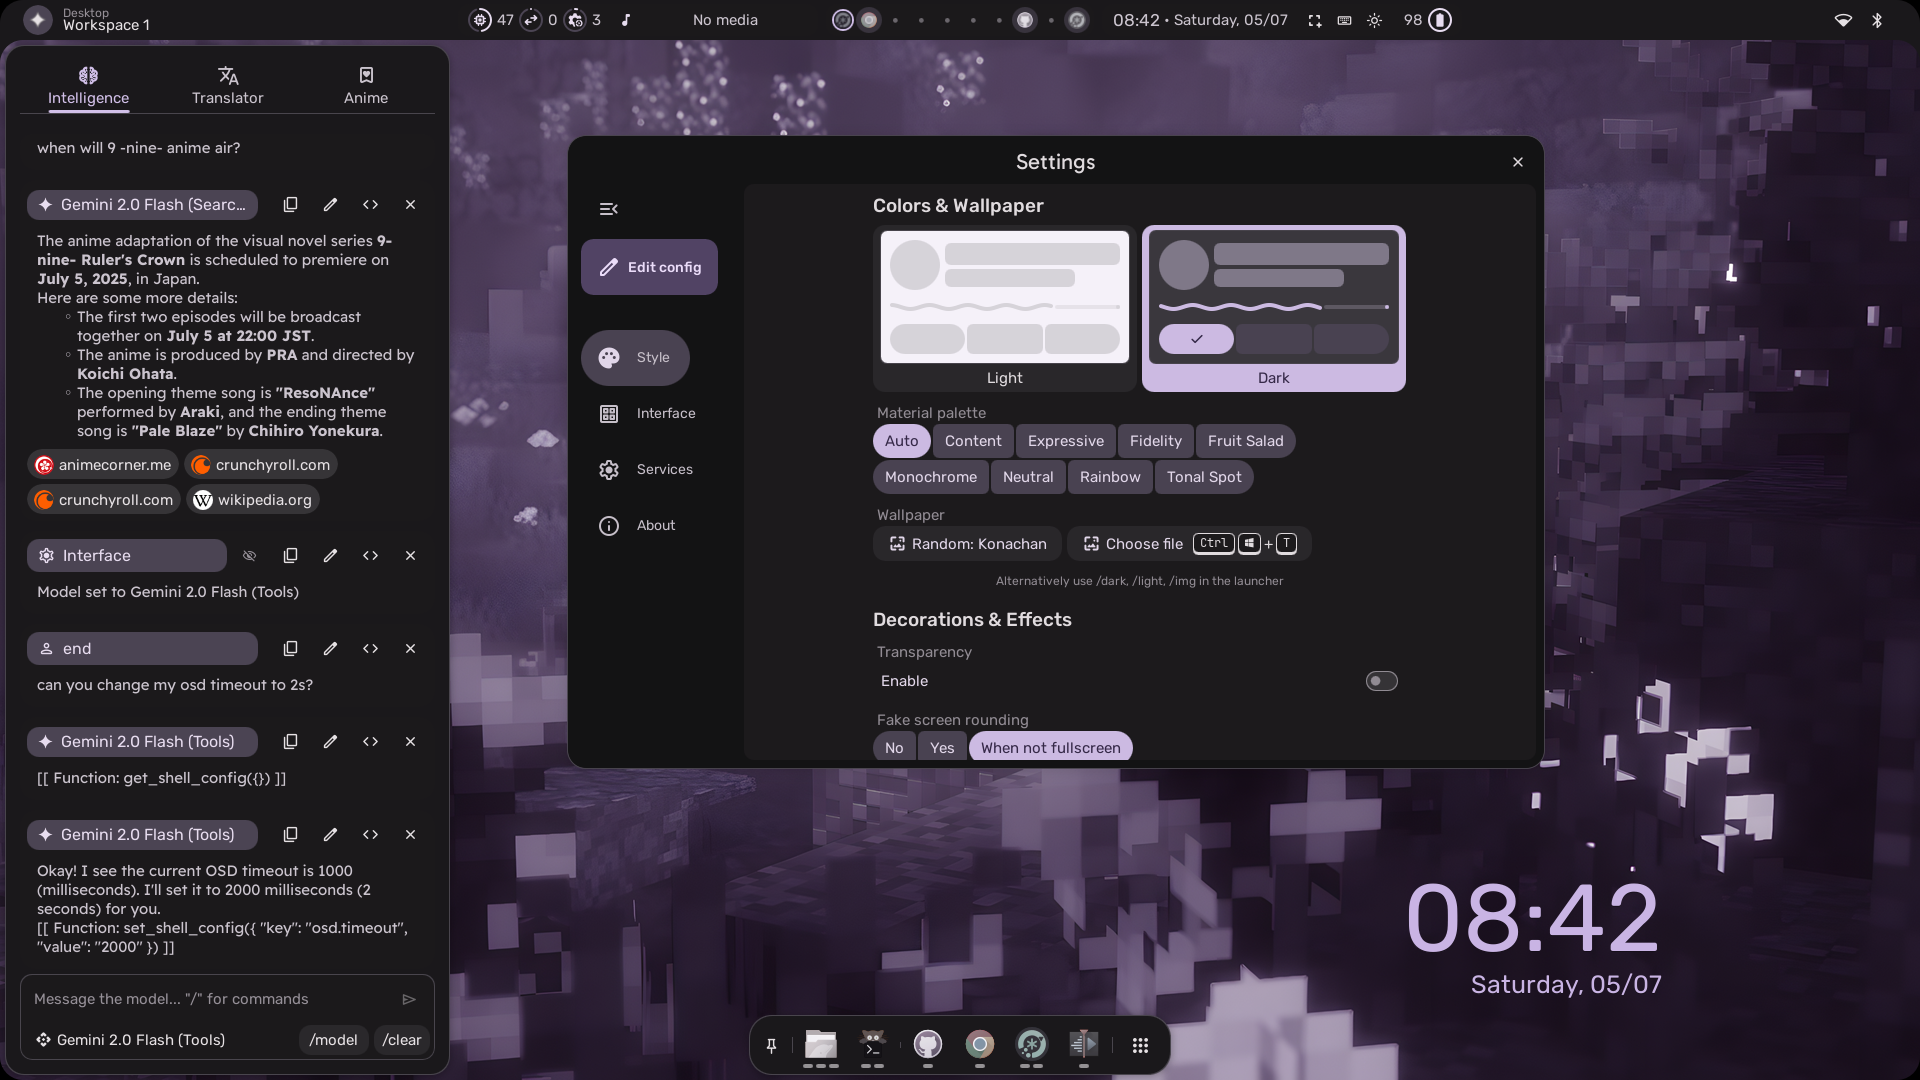
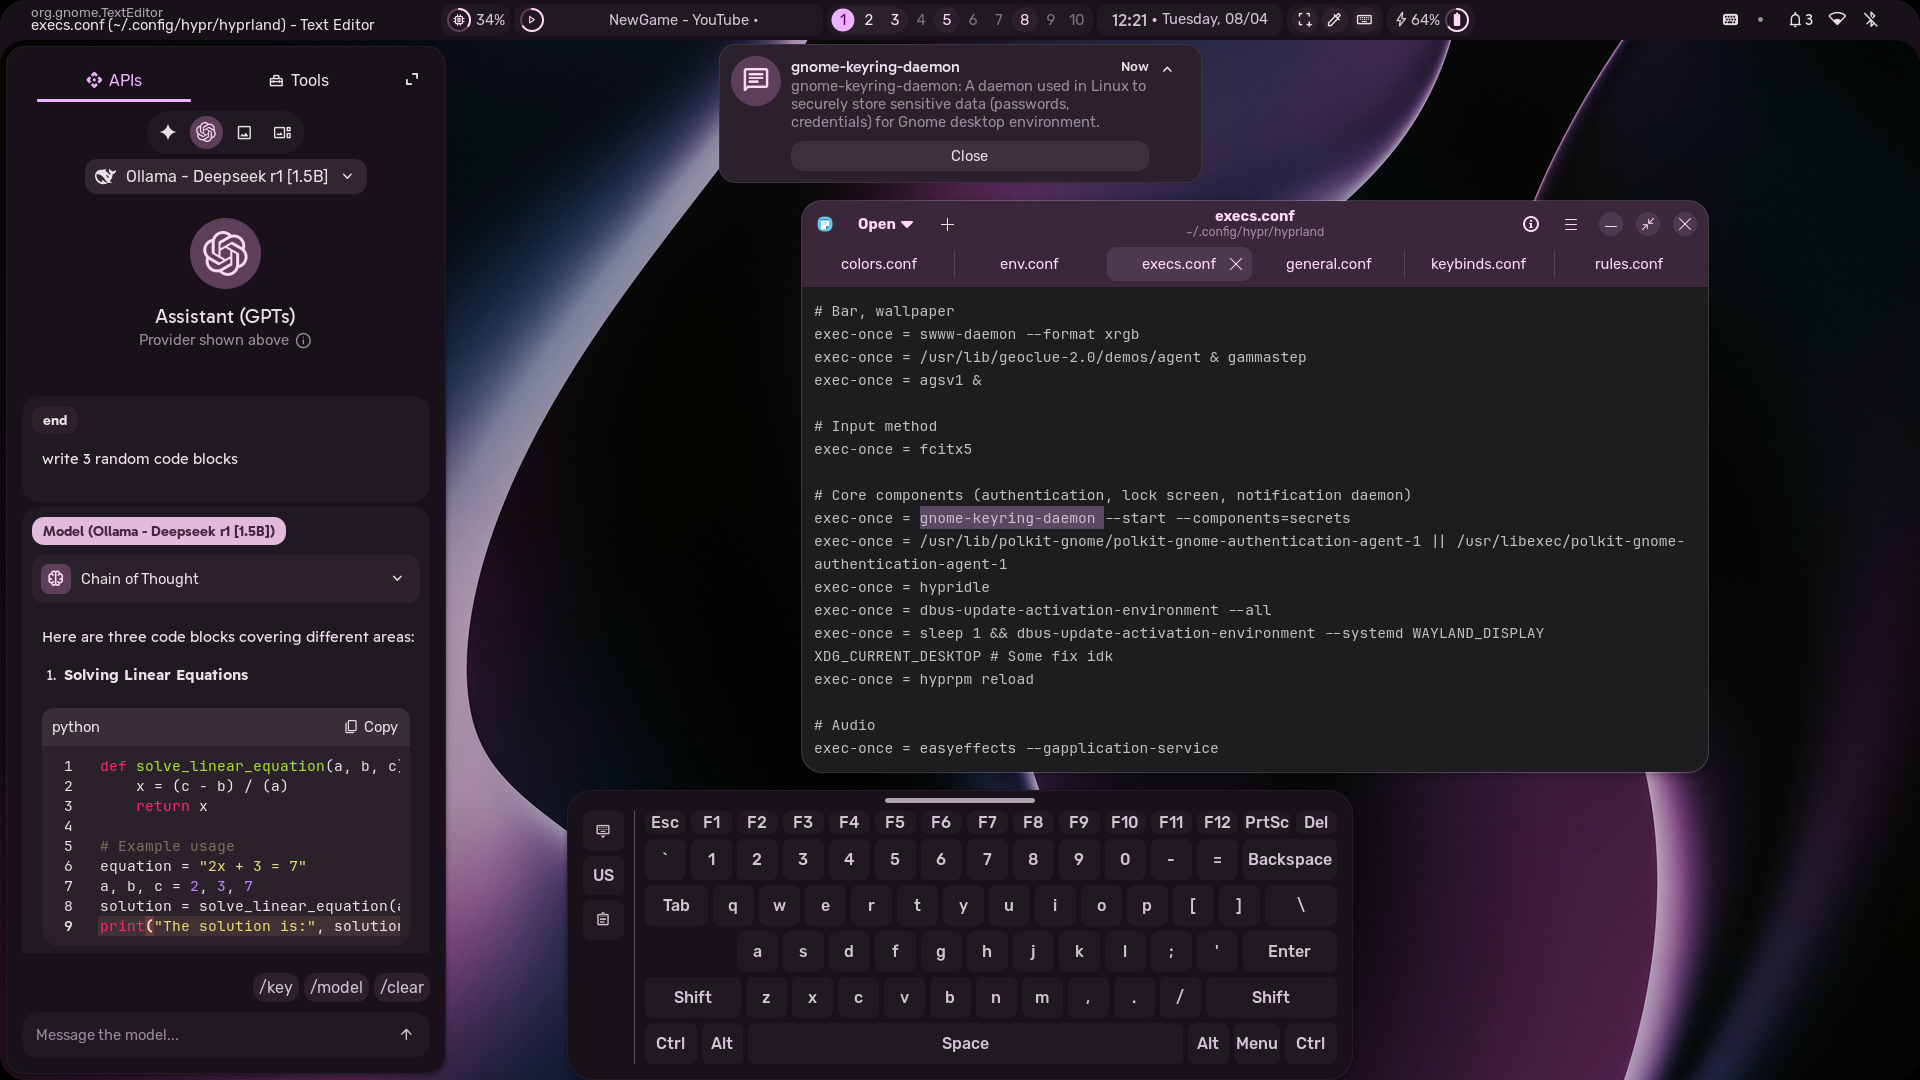
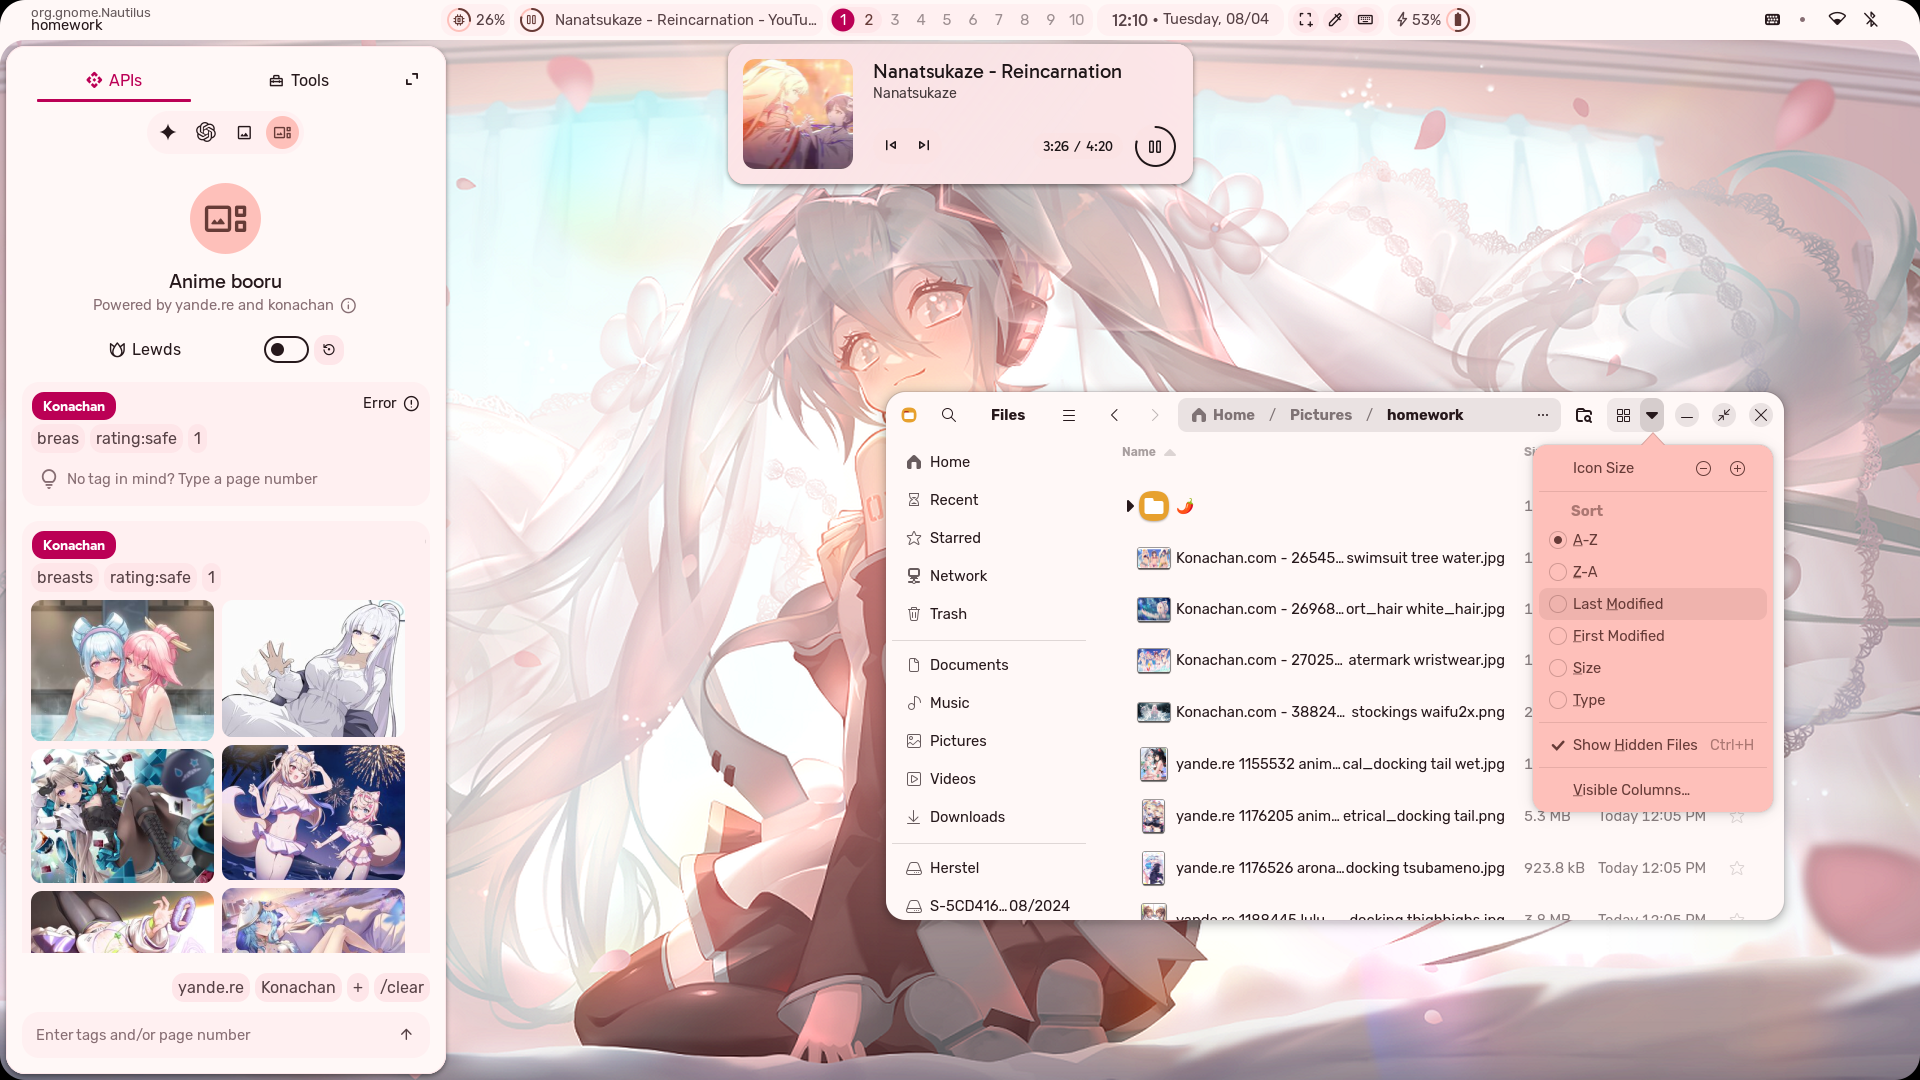
- AI: Gemini API and Ollama models
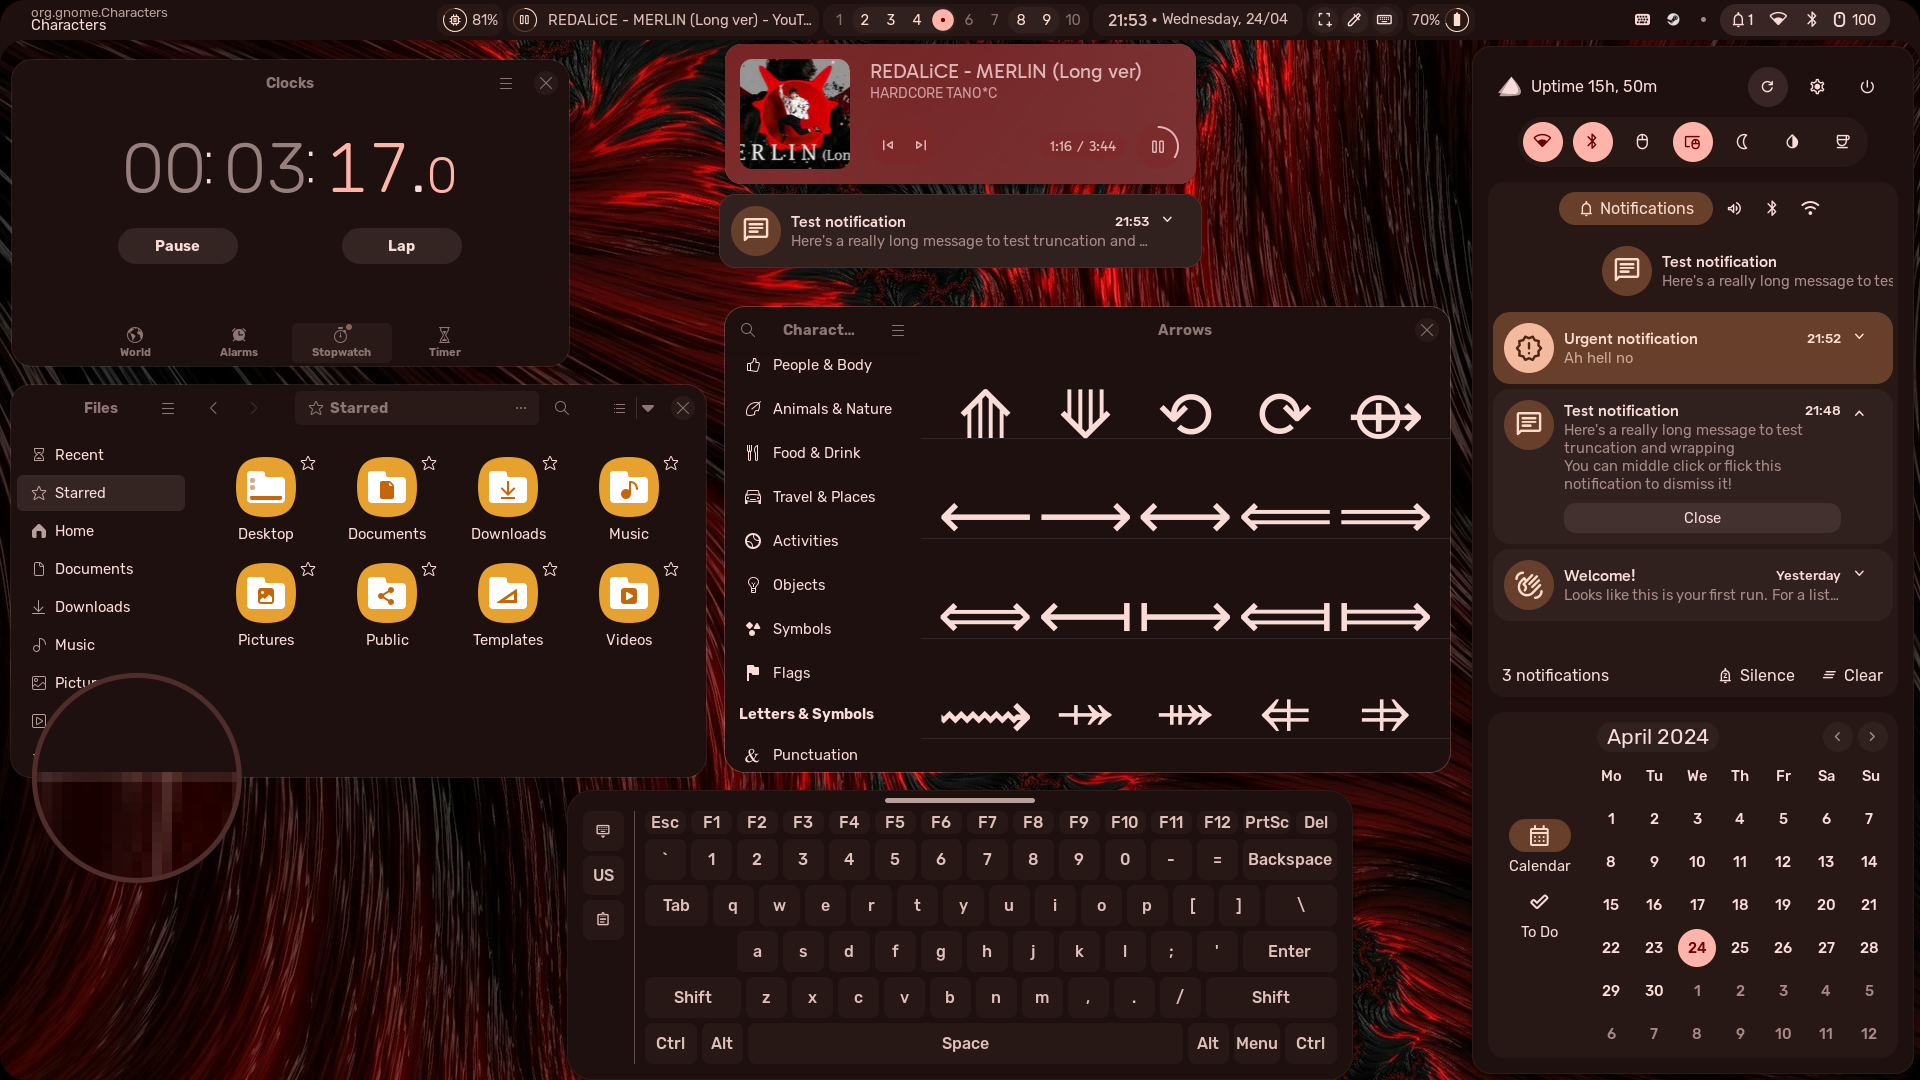
- Autogenerated colors: Accessible and beautiful Material colors based on wallpaper
- Transparent installation: Every command is shown before it’s run
Installation (illogical-impulseQuickshell)
- See the Wiki
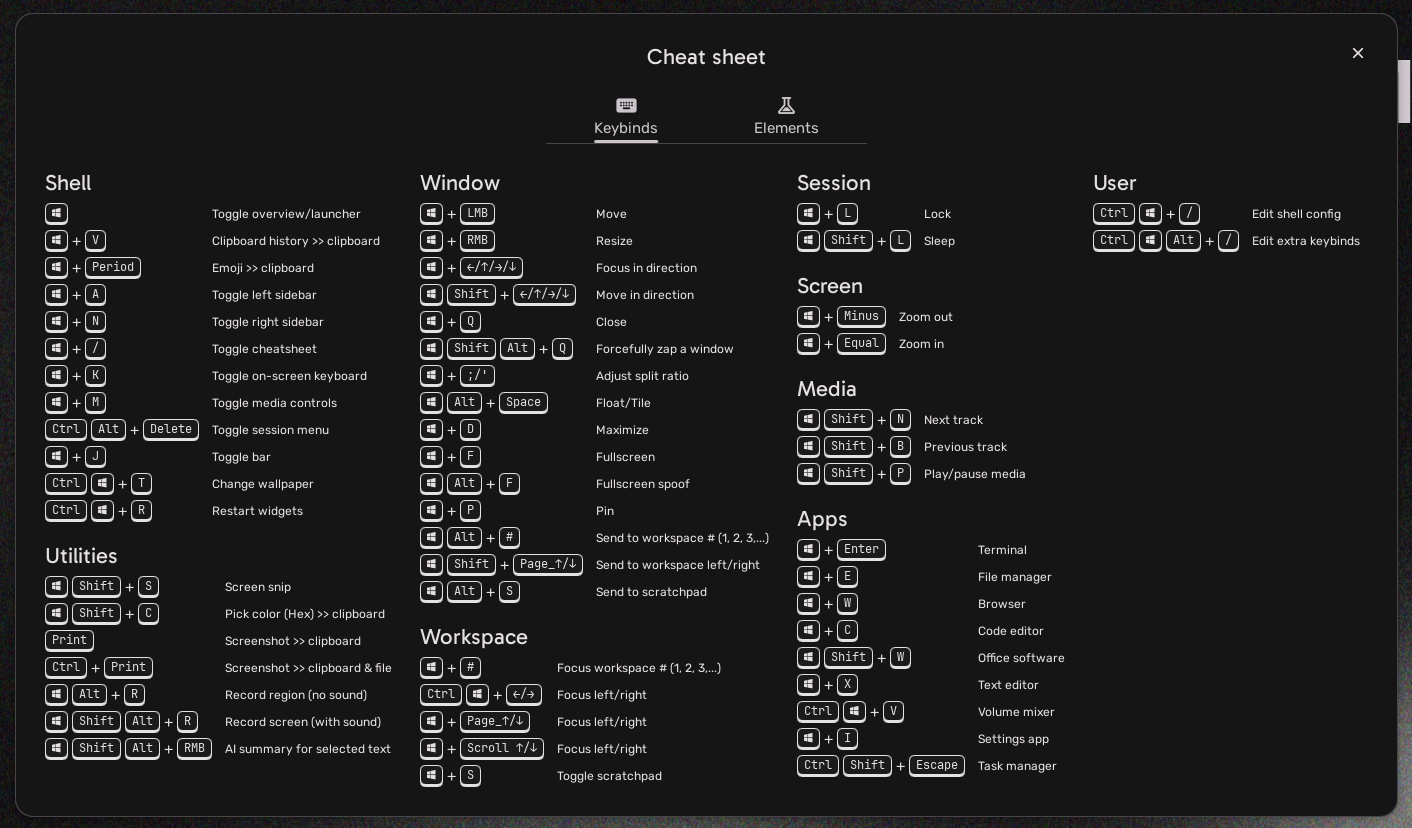
- Default keybinds: Should be somewhat familiar to Windows or GNOME users.
Super+/= keybind listSuper+Enter= terminal- If for whatever reason the keybind list widget does not work, here’s an image:

Software overview
| Software | Purpose |
|---|---|
| Hyprland | The compositor (for noobs, you can just call it a window manager) |
| Quickshell | A QtQuick-based widget system, responsible for the status bar, sidebars, etc. |
- For a more comprehensive list of dependencies, see scriptdata/dependencies.conf
Discord
Server link | I hope this provides a friendlier environment for support without needing me to personally accept every friend request/DM. For real issues, prefer GitHubNote: THERE IS NO FUCKING WAYBAR

|
latest and only style that I actively use. Other past styles are still there for your viewing pleasure and not actual use, but code is still available, see below. |
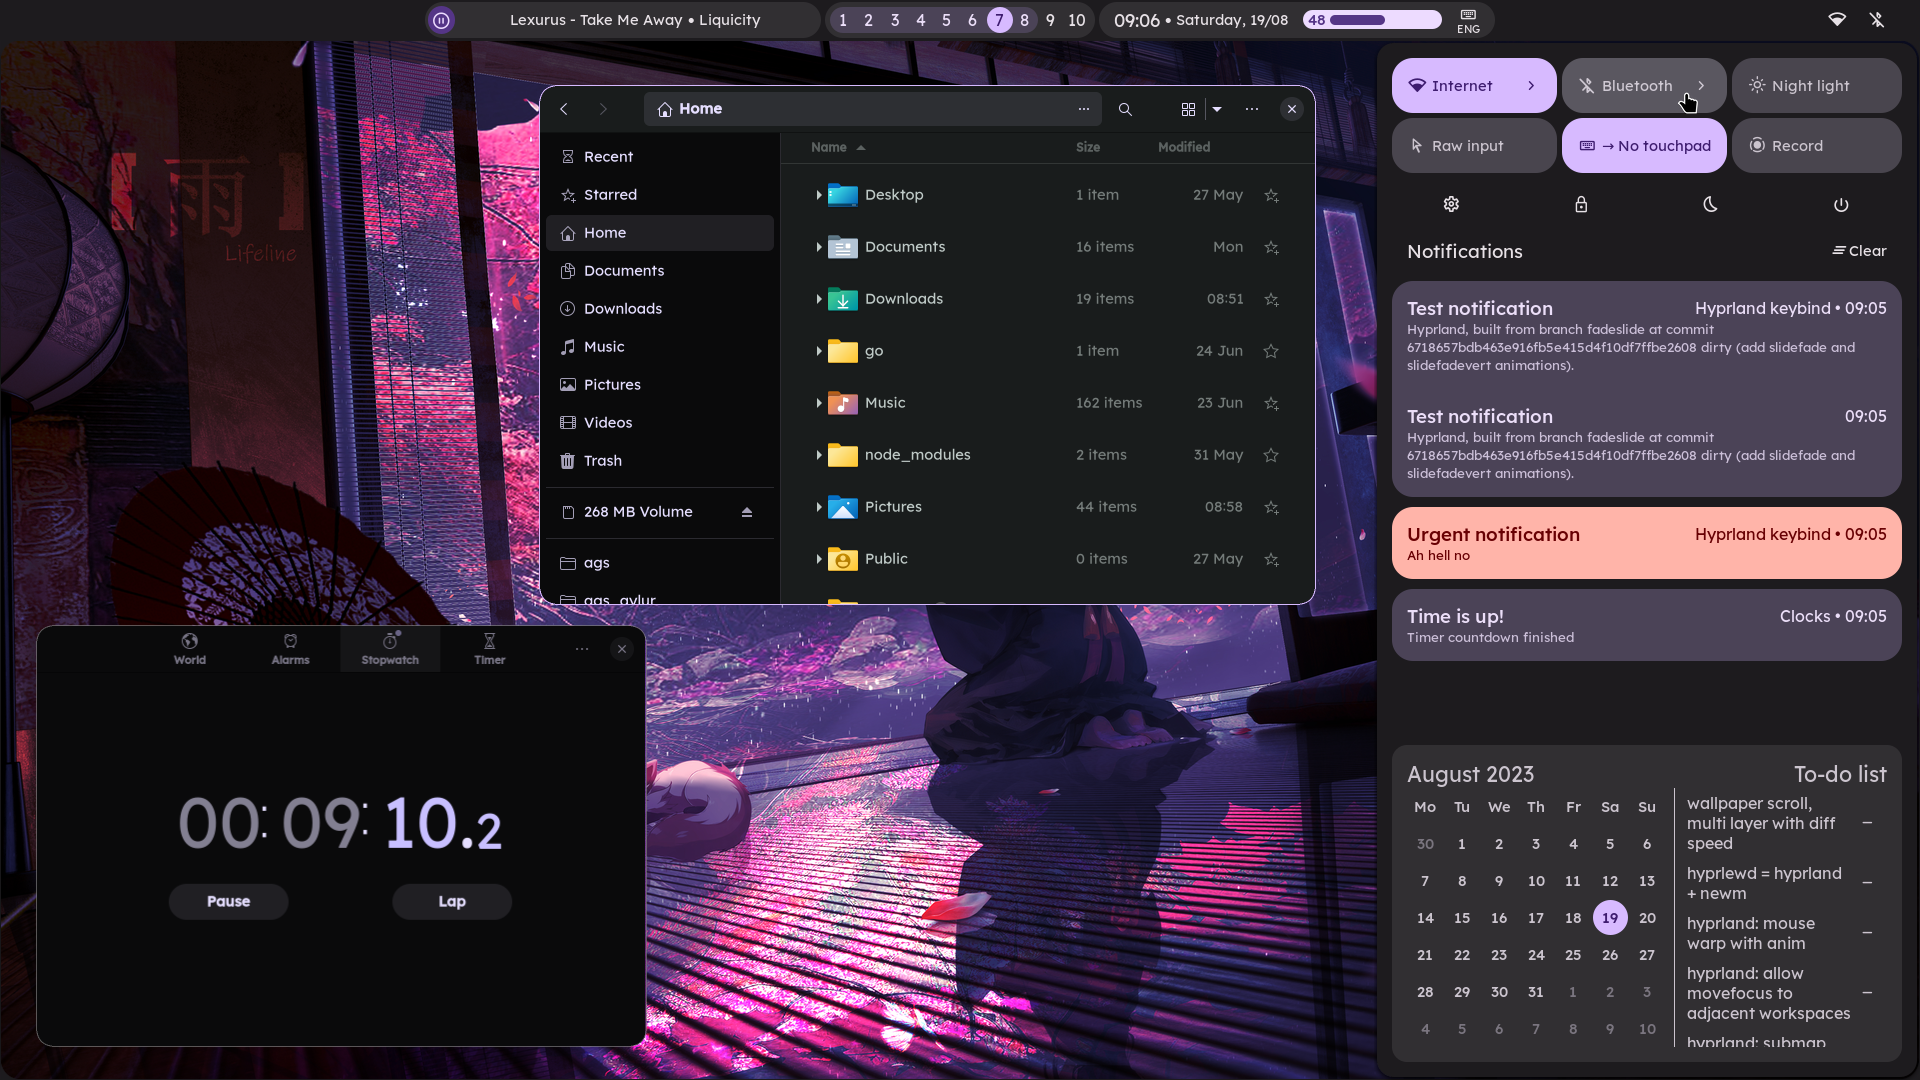
Widget system: Quickshell | Support: Yes
| AI, settings app | Some widgets |
|---|---|
 |
 |
| Window management | Weeb power |
 |
 |
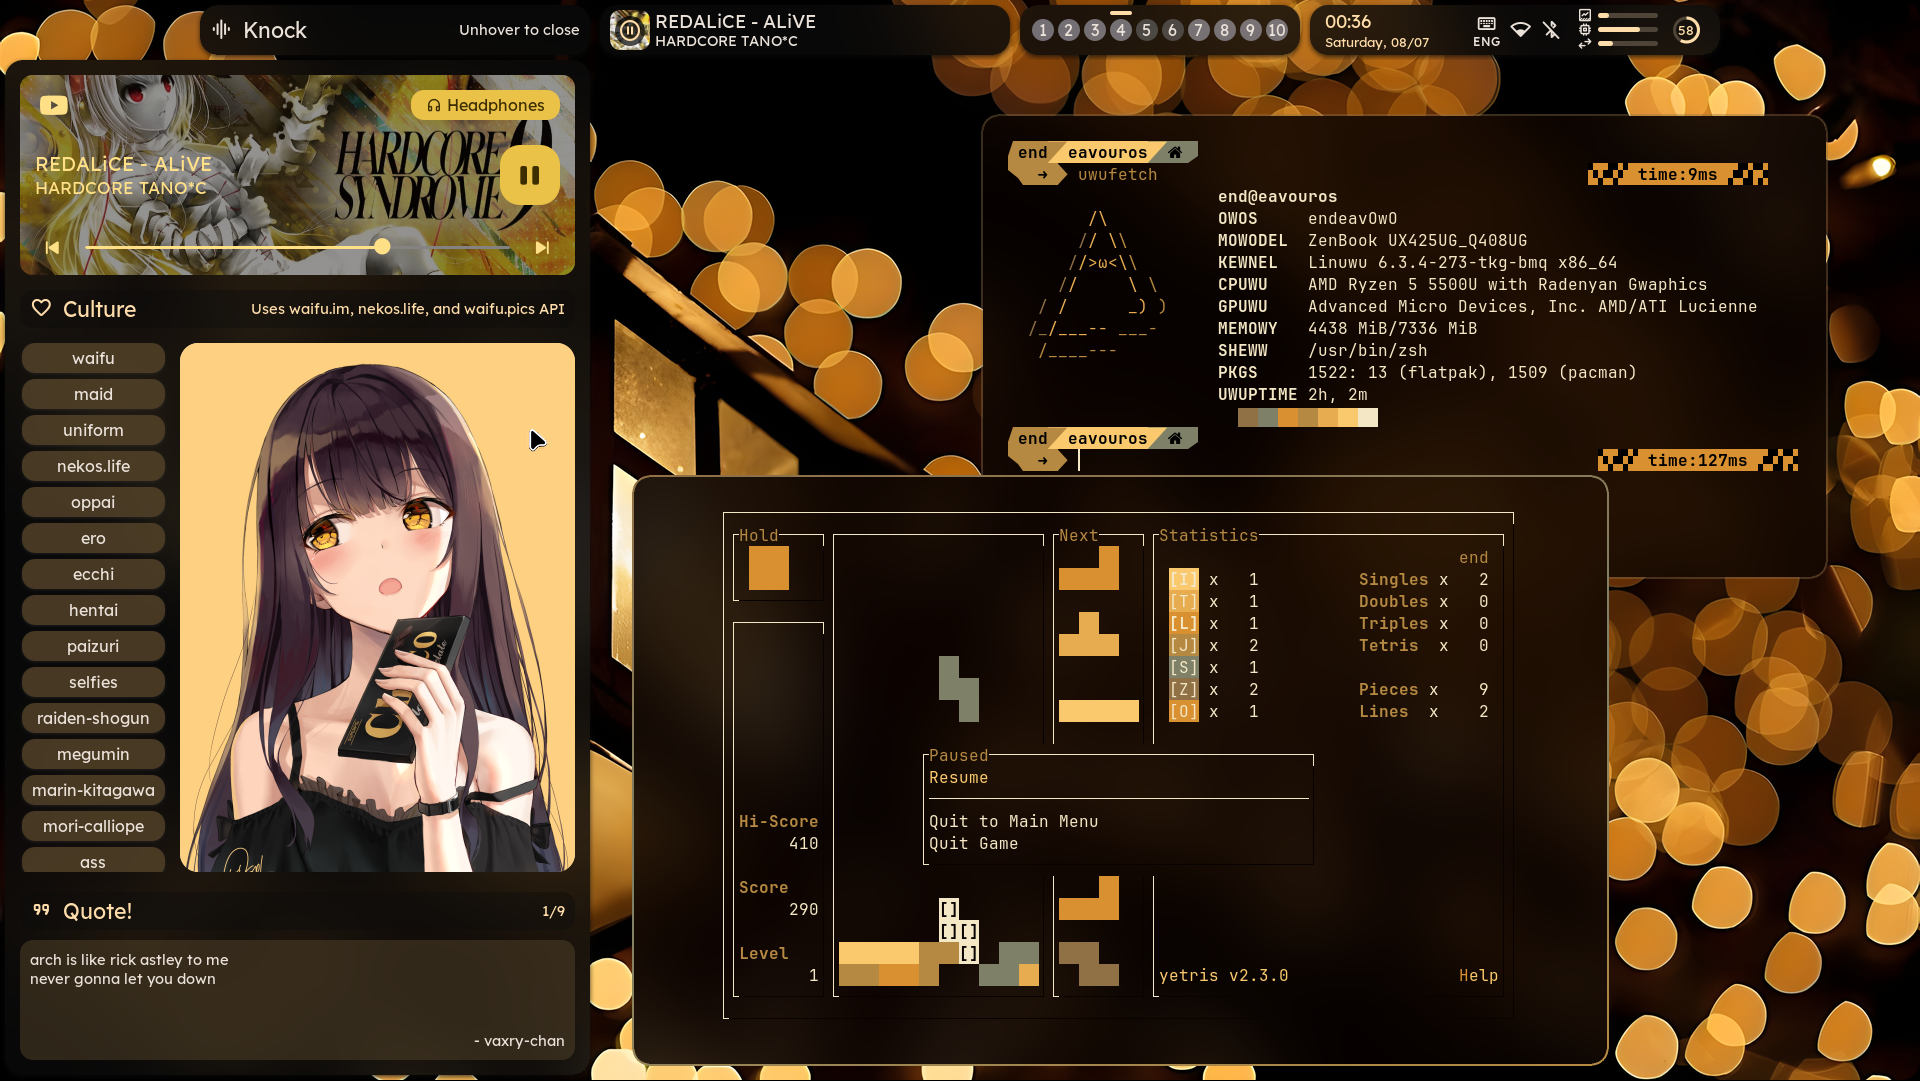
Widget system: AGS | Support: Limited, no new features
| AI | Common widgets |
|---|---|
 |
 |
| Window management | Weeb power |
 |
 |
- Source code not likely to work but still available in the
archivebranch. Extremely spaghetti. - Click image for a presentation video
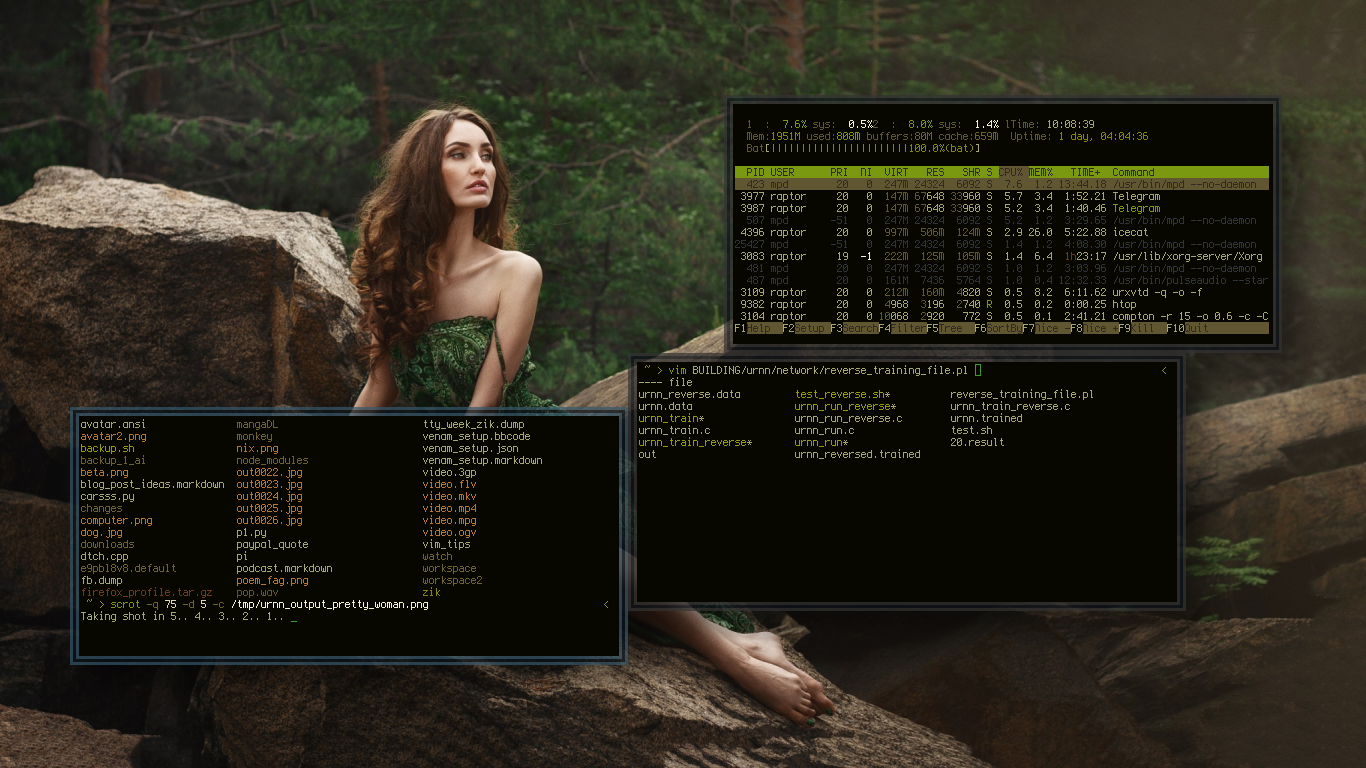
Widget system: EWW | Support: No, dead

Widget system: EWW | Support: No, dead

Widget system: EWW | Support: No, dead

Widget system: EWW | Support: No, dead

- @clsty for making my work accessible by taking care of the install script and many other things
- @midn8hustlr for greatly improving the color generation system
- @outfoxxed for being extremely supportive in my Quickshell journey
- Quickshell: Soramane, FridayFaerie, nydragon
- AGS: Aylur’s config, kotontrion’s config
- EWW: fufexan’s config (he thanks more people there btw)
- AI bots for providing useful examples
@tokyobot for saying hi
- Funny useful number: https://github.com/sponsors/end-4
- Funny useless number:

- Jokes aside i do appreciate both
- Inspiration: osu!lazer, Windows 11, Material Design 3, AvdanOS (concept)
- Copying: The license allows you to. Personally I have absolutely no problem with others redistributing/recreating my work. There’s no “stealing” (unless you do weird stuff and violate the license). (this note is here because some people actually asked)
 https://github.com/end-4/dots-hyprland


